Saturday, October 26, 2013

Wreaths

With school starting back in September I've been up to my eyeballs in curriculum, and lesson plans.  I have taken some time to be crafty.  Lately I've been making burlap wreaths.  They are so fun to make and the possibilities are endless.  So far I've made a pretty fall wreath, with a monogram letter and a fun winter wreath.  I love adding wooden letters and accent pieces.  I can add my own creative touches to them.

This is the autumn wreath.  I love the colors and the dotted ribbon.


This pretty wreath featuring hydrangeas and a monogram letter is perfect for any season.  In fact I may have one like it hanging on my front door as we speak.


This is my newest creation, just in time for winter.  I love the snowflake burlap bow and and berries peaking out from behind.  


I have a couple more wreaths in the works.  I have a blue and silver one planned, and an adorable snowman may make an appearance as well.  I hope to get back to painting canvases, soon as well.  

I also have created a Facebook page for Anne's Art Shoppe.  Feel free to check it out and "like" it.


Tuesday, June 11, 2013

Evolution of a Rain-Forest Bedroom

I've been quite busy trying finish up the school year around here.  Now that we are finished, I can concentrate more on my art.  I several big house projects scheduled for the summer.  The two that I'm focusing on right now are the kids' bedrooms.

The teenage boy wants a rain-forest theme.  The challenge is to make it look like a teenage boy's bedroom and not a little kid jungle theme.

We purchased a used bunk bed a few years ago for his room so it was time to tackle painting it.  This is the first piece of furniture that I have painted.  We decided to go with milk paint, for the distressed, weathered look.  He wanted to do four graduated colors, starting with a brown to represent the ground and moving up to a green for all the greenery that is found in a rain-forest.  I'll admit that I was a little skeptical of his vision, but it is his room, so I went with it.  The first coat didn't take too well.  It peeled of way too much.  Think I should have sanded the bed down more before I started painting it.  What I decided to do was mix the paint with an additive help it adhere to the wood better.  It still had that weathered feel, and some flaked off.  We picked up some knobs at Hobby Lobby for the drawers and the bed was finished.

I will post some better pictures of the bed as I get the room completely finished.  For now you can see some of what we did, and the colors we went with.  It is a loft style bunk bed with the bed up top, and a desk underneath.


Here is a close up of the knobs on this side.


This is the desk side and the different knobs we chose.


Then it was time for the mural.  I started by finding some photos to use as inspiration, then I sketched it on wall.  I don't get too bogged down on the details in the first sketching stages.  I like to get an idea of where everything is going to be and start putting paint down. This is what I started with.  Any idea what it is?


This is a more close up picture of the back legs.


This is the finished product.  Now do you know what it is?


Lest you think I got confused and started to paint a zebra and then changed my mind, let me assure you this is indeed an actual animal.

This is an okapi (oh-COP-ee) Okapis are native to the Congo.  Although they have stripes, they are more closely related to the giraffe, not the zebra.  The stripes help conceal them in rain forest.  They have very long tongues, like their giraffe cousin, to strip leaves from trees. The are often referred to as the "Forest Giraffe. 

We are hoping to make it to a zoo so we can see these fascinating animals up close.  Until then, we will enjoy the one on his wall.

I think he was a little skeptical of my artistic abilities when he agreed to let me start painting on his walls.  Now he is impressed and  wants a waterfall and a macaw on the opposite wall.  We also have plans for one more okapi on this wall.  

I hope to get a lot of painting done this week.  I think I'm going to start with the macaw, to change things up a little.  Then I may tackle the waterfall.  I'll admit that I'm a little nervous about the waterfall, but I'm up for the challenge.  Then we'll work on the 2nd okapi.

This isn't my first attempt at painting murals for the kid's rooms.  When my son was born I did his nursery in bears and ballons, floating in the clouds.  Then I did his "big boy" room in trucks and airplanes. When the rain forest bedroom is complete, I will tackle the butterfly garden bedroom for my girls.

I have  decided to expand my artistic offerings.  If you are local to the Richmond, Virginia area, and need a mural for a child's room or playroom, please contact me.  You can reach me at ald040899@gmail.com


Anne

Saturday, January 26, 2013

Turns Out, I’m Not Super Woman


**I now have hand drawn note cards available for purchase.  So far I have added 1 set, but I am working on several others that I hope to have available by the end of the weekend.  I also have a couple of paintings in the works that I hope to have available very soon.  As always I am happy to take custom orders.  You can use the code SNOWDAY25 for 25% off your purchase for one more week.**


The Husband has been working out of town lately, about 2 hours away.  The kids and I went for a weekend visit recently.  Since we had to drive by Ikea to get home, I couldn’t resist a trip inside.  The last time we were there we found a table and had debated buying it.  We came home, measured the space, and decided it would be a perfect fit, so I stopped to buy it. 

The box weighed a little over 100 pounds.


I convinced the 2 big kids that they should help me bring the box into the house. I ignored the oldest when he suggested that we leave it in the truck and wait for Daddy to take care of it when he got home.  I also ignored the eye rolls I got when I announced that I was going to put it together.  I could do this.  How hard can it be, right?  So I put the kids to bed and set about to assemble my table.  I opened the box and this is what I found.


Okay, so I was a little discouraged.  But there are instructions.  I can do this.


Okay, so there are no actual words with these instructions.  Just pictures of a little man smiling, then looking confused, and finally calling Ikea.  I considered closing the box at this point, but no, I was determined.  The husband was going to come home and find the table all assembled in the hallway we had chosen for it.  So I set about finding the screwdriver and hammer the instructions said I would need.  I couldn’t find them.  So then I put the top on the box and gave up.


The box sat in the hallway for a day or two, taunting me as I stepped over it.  Again I began to feel like Super Woman.  I can do this.  So I set out to find the tools that I needed again.  The oldest opened the garage door and there was the hammer sitting on the step.  Yeah, I looked in the garage several times for that hammer.  Okay I won’t let the fact that I’m obviously half blind stop me. 


The legs were pretty easy.  Most of them were already together.  I just had to attach two small pieces. 


That part was complete.  Time to move the legs out of the way and attach the leaves to the top.  Screw four screws into four hinges.  Simple, right?  Wrong!


Those silly screws would not go it for anything.  I tried and tried.  I looked for the husband's battery operated screwdriver, and of course I couldn't find that either.  So then I did give up.  I was starting to strip the screw and I was afraid that I would cause more harm than good.  So I decided that I wasn't actually Super Woman.  I put it away and waited for the husband to come home and fix my mess.


He came home and got those screws in fairly quickly.  So here is my new table.


It has three drawers on each end.


Here it is with the leaves open.


I have it in the small hallway between the kitchen and the den.  I really like it.  It is solid birch, except for the drawers.  This thing is sturdy.  I did say the box was 100+ pounds.  It opens to a good size that will be great as a kids table when we have people over.

I love the way it looks with the leaves down.  I need to find some things to put on it.  I found some pretty vases that I think would look nice, but it is in a pretty high traffic area I'm afraid that glass is not a good idea. 

The wood is a bit lighter than the other wood in the kitchen.  I am tempted to paint it, but I'm nervous at the same time.  I have a bunk bed that I am going to paint.  I think I will see how that turns out before I go after my new table.

So maybe I'm not Super Woman, but I do have a pretty table.

                                    Anne


Friday, January 18, 2013

First Snow and a Coupon Code

The 's' word was the topic of conversation around our house yesterday.  I'm not a big fan of the white stuff, but even I have to admit that the first snow can be fun.  Especially when the first snow is like this one, pretty and then melts away.


Local schools were closed today.  My kids have had quite a lot of time off from school recently.  Between moving and our impromptu weekend trip to Washington D.C. that got extended until Tuesday there were no snow days here.  They did get to play in the slushy white stuff for a little while.


Then they came in and warmed up with some hot chocolate.


And then it was time to hit the books.

I honor of the first snow of the year, I am offering a coupon code for 25% off all my paintings at Anne's Art Shoppe.  Just enter SNOWDAY25 at checkout.  Feel free to share this code.

Anne


Tuesday, January 1, 2013

The story of my kitchen curtains

It has been over a month since I have picked up a paint brush.  I hope to remedy that very soon.  For now I thought I would share what has been keeping me from my art:  decorating my kitchen.

From the beginning I had a vision for my kitchen, clean and  modern.  That vision slowly came together as I picked out kitchen cabinets and stainless appliances.  Then I had to decide on light fixtures.  I really had no idea, but the electrician needed to know, so I got busy looking.  I finally decided on a single pendant light over the kitchen sink, and a fixture with 3 separate pendant lights over the kitchen table.  I thought it was a great idea that I could mix and match the shades.

Before I could choose light shades I needed to know the color of the kitchen.  I decided that I would pick out curtains, and pull colors from them for the shades and also for the wall color.  Picking out curtains turned out to be one of those things that are easier said that done.  I didn't know exactly what I wanted, but I knew I would know when I saw it.  I started by checking local stores, Target, Bed, Bath and Beyond, Kohls, even Walmart.  Nothing.  So I started checking the internet.  Still nothing.  I decided to check out some local fabric shops.  As I searched for fabric I decided that I wanted a geometric pattern, probably circles,and color.  As the kids and I were at one fabric shop, my daughter, E, shows me a fabric sample.  It was perfect!  Circles and color!  I might have heard angels singing.  Then reality hit.  It was a special order fabric, and that meant a minimum order of 12 yards @ $19.99 per yard.  Yikes!  I only needed 4 yards, tops.  So it was time to scour the internet again.  I found the fabric at Mary Jo's Cloth Stores, Inc for $11.98 a yard!  This was the first time I have ordered from this site, but I will definitely be ordering from her again if I find myself in need of more fabric.  I placed my order Wednesday afternoon and my package arrived Friday.

So I have the fabric, now what?  For a brief moment I thought about sewing the curtains.  Then I realized that I have never gotten along very well with a sewing machine.  There has to be some no-sew ideas out there, right.  Off to check out Pinterest.  I found some ideas with possibility, then I remembered that I had not checked out one of my favorite DIY blogs, Young House Love, written by a local couple.  There I found exactly what I was looking for in this post, where Sherry described how she made curtains for her daughters nursery, using Heat N Bond hem tape.  I pretty much followed Sherry's directions step by step.

This is the window I was working with.  It is a small one over the kitchen sink.


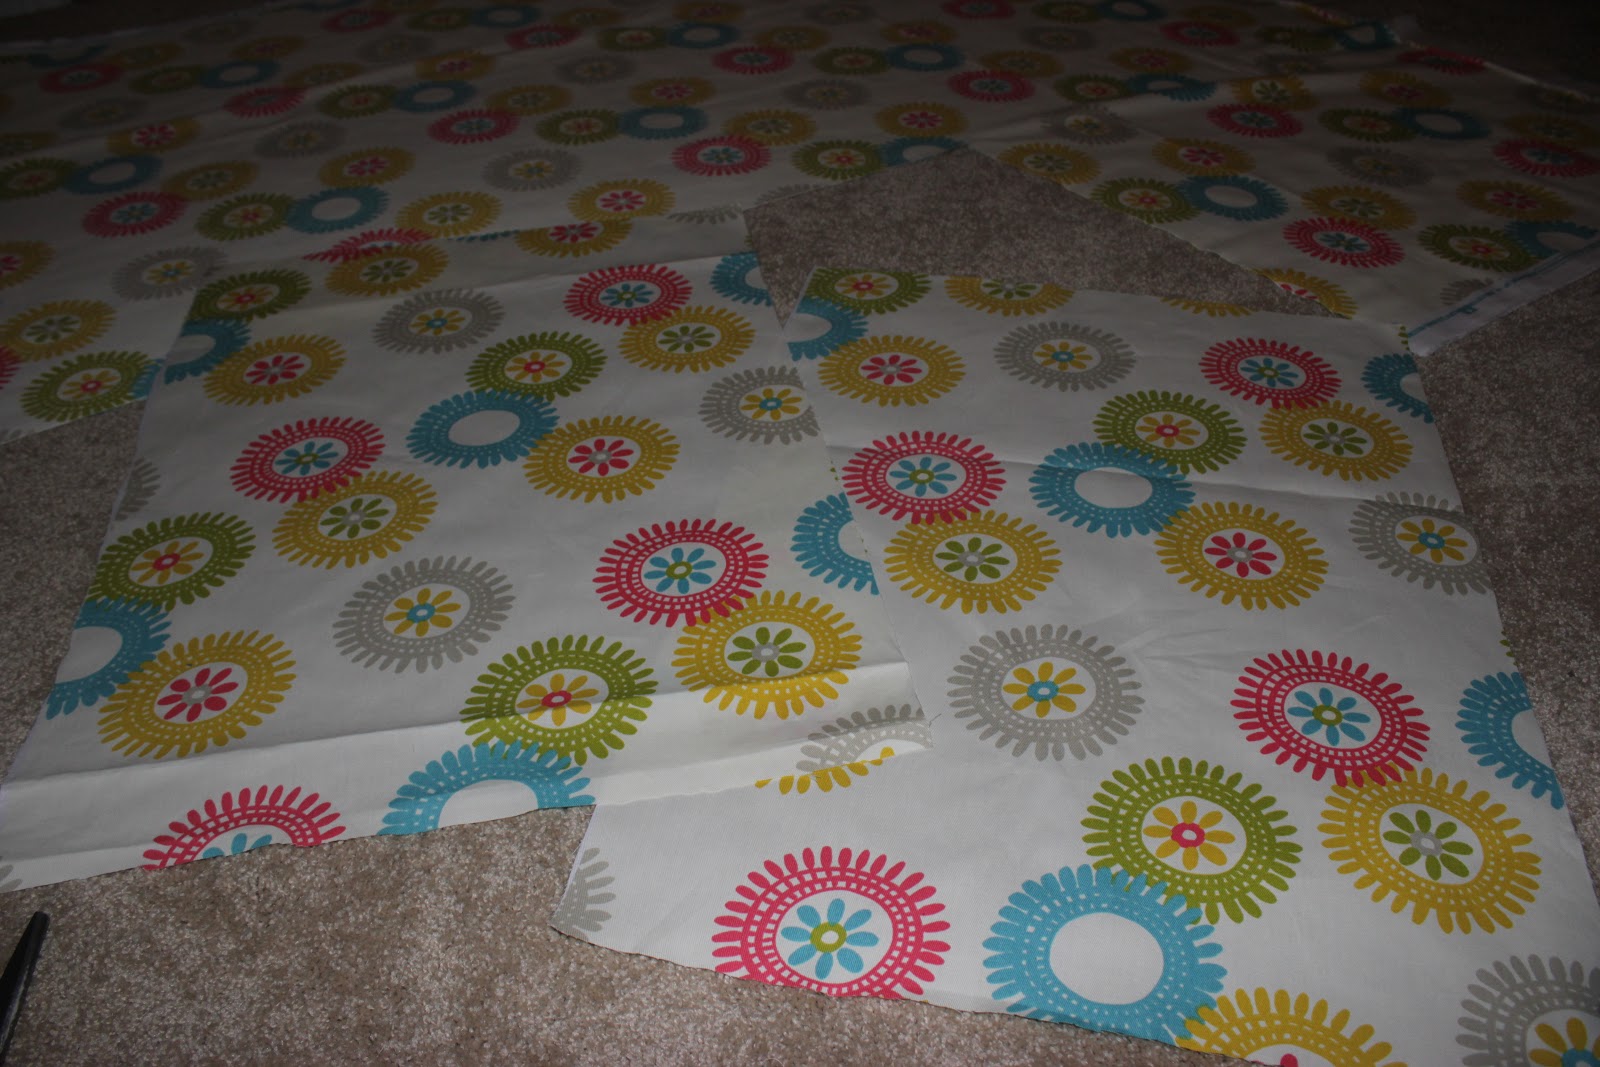
I started by laying out my fabric, measuring, and cutting the 2 panels out.


Now it was time for the hem tape.  I pulled out my brand new ironing board, bought especially for this occasion.


Then I just applied the hem tape to all 4 edges.  I simply pulled out the hem tape.  I put the sticky side down on the edge of the fabric, ironed it down, pulled the paper off, folded the fabric over, and ironed that side.  For more detailed directions check out Sherry's directions in the link above.


It actually took a little while.  Turned out my measurements were off and they were too long.  So after more measuring, cutting, and ironing they were finished and ready to hang.  I put up a tension curtain rod, curtain clips (these are amazing), and attached my panels.


I love the colors and how the turquoise in the curtains picks up the turquoise light.

My other kitchen window is larger and will get a valance in addition to the cafe panels.  My goal is to get those up in the next day or so.  I will share that and the rest of the kitchen as I finish.

Feel free to check out my Etsy shop by following the link on the left.  I promise to have new artwork there very soon.

Anne  

Saturday, December 8, 2012

I'm still here

It has been a crazy few weeks around here.  We finally moved back into our house after being out for a little over a year.  It feels sooo good to be home.  I've been so busy packing and moving that I haven't had time to paint.  I sure do miss it, though.

We are starting to get settled back in our house.  Most of our furniture will be delivered the end of the week, and I've very excited about that.  We got the kitchen table and 3 stools yesterday.  Once I get my other 3 stools we will be all set.

I hope to dig out my painting supplies very soon, maybe this weekend, finish up a couple of the projects I have started.  I can't wait to share new paintings again!

Tuesday, November 13, 2012

A little birdie...

I finally completed another painting.  This one was a lot of fun!

 When I painted the little blue bird on top of the flower on my row of flowers painting I knew he deserved a painting of his own.  Here is a smaller version of him.


I really liked the 10 x 10 square that I painted the snowman on , so I decided that would be perfect for my birdie.  I put him on a tree branch and debated if he was complete.  After some thought I decided that my original plan to put polka dots in the background was a good idea.  I chose some pretty pastel colors and went to work.  

I'm very pleased with how he turned out.  He would be a perfect addition to a little girl's bedroom.


I hope to have another painting up soon.  I'm currently working on 2 paintings that are more realistic in style.  They look great in my head!  I hope they turn out just as well on canvas.

Anne